Knit-along: the Field Sweater Updated 10/12/23
|
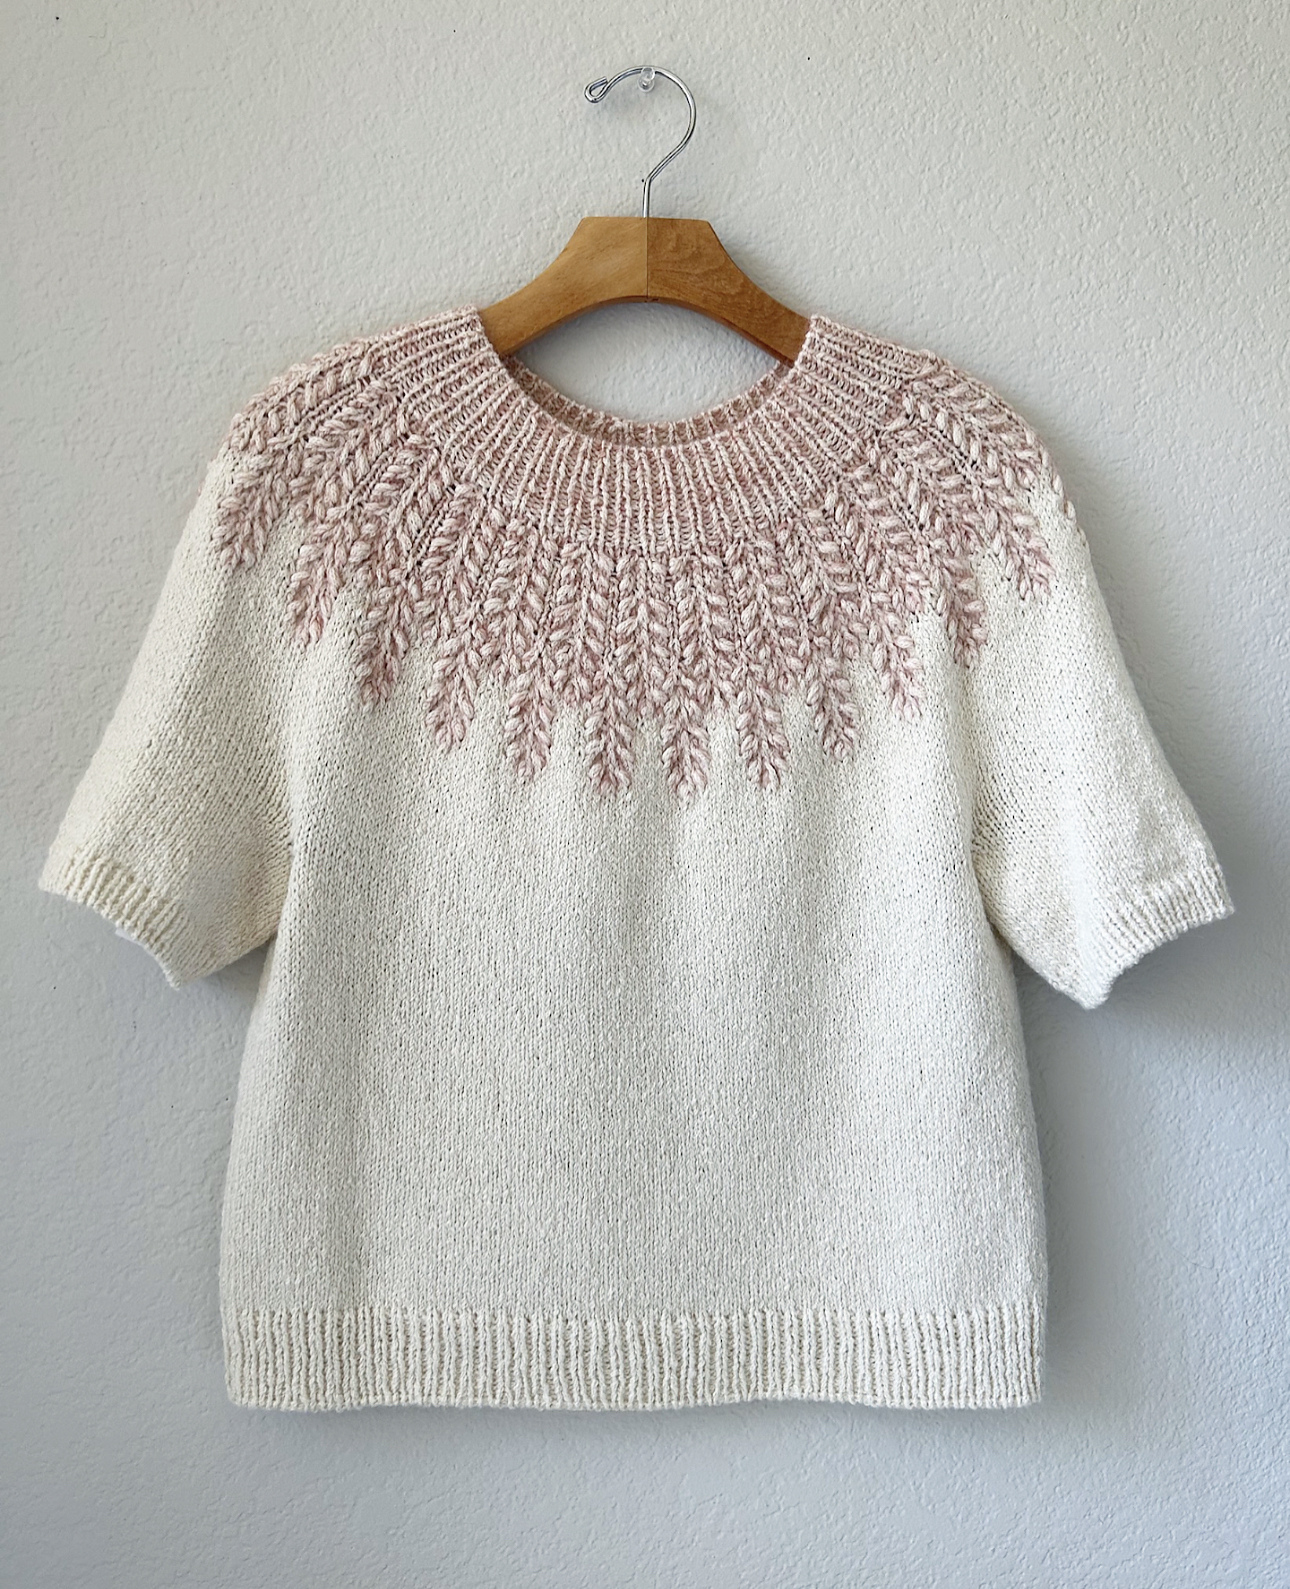
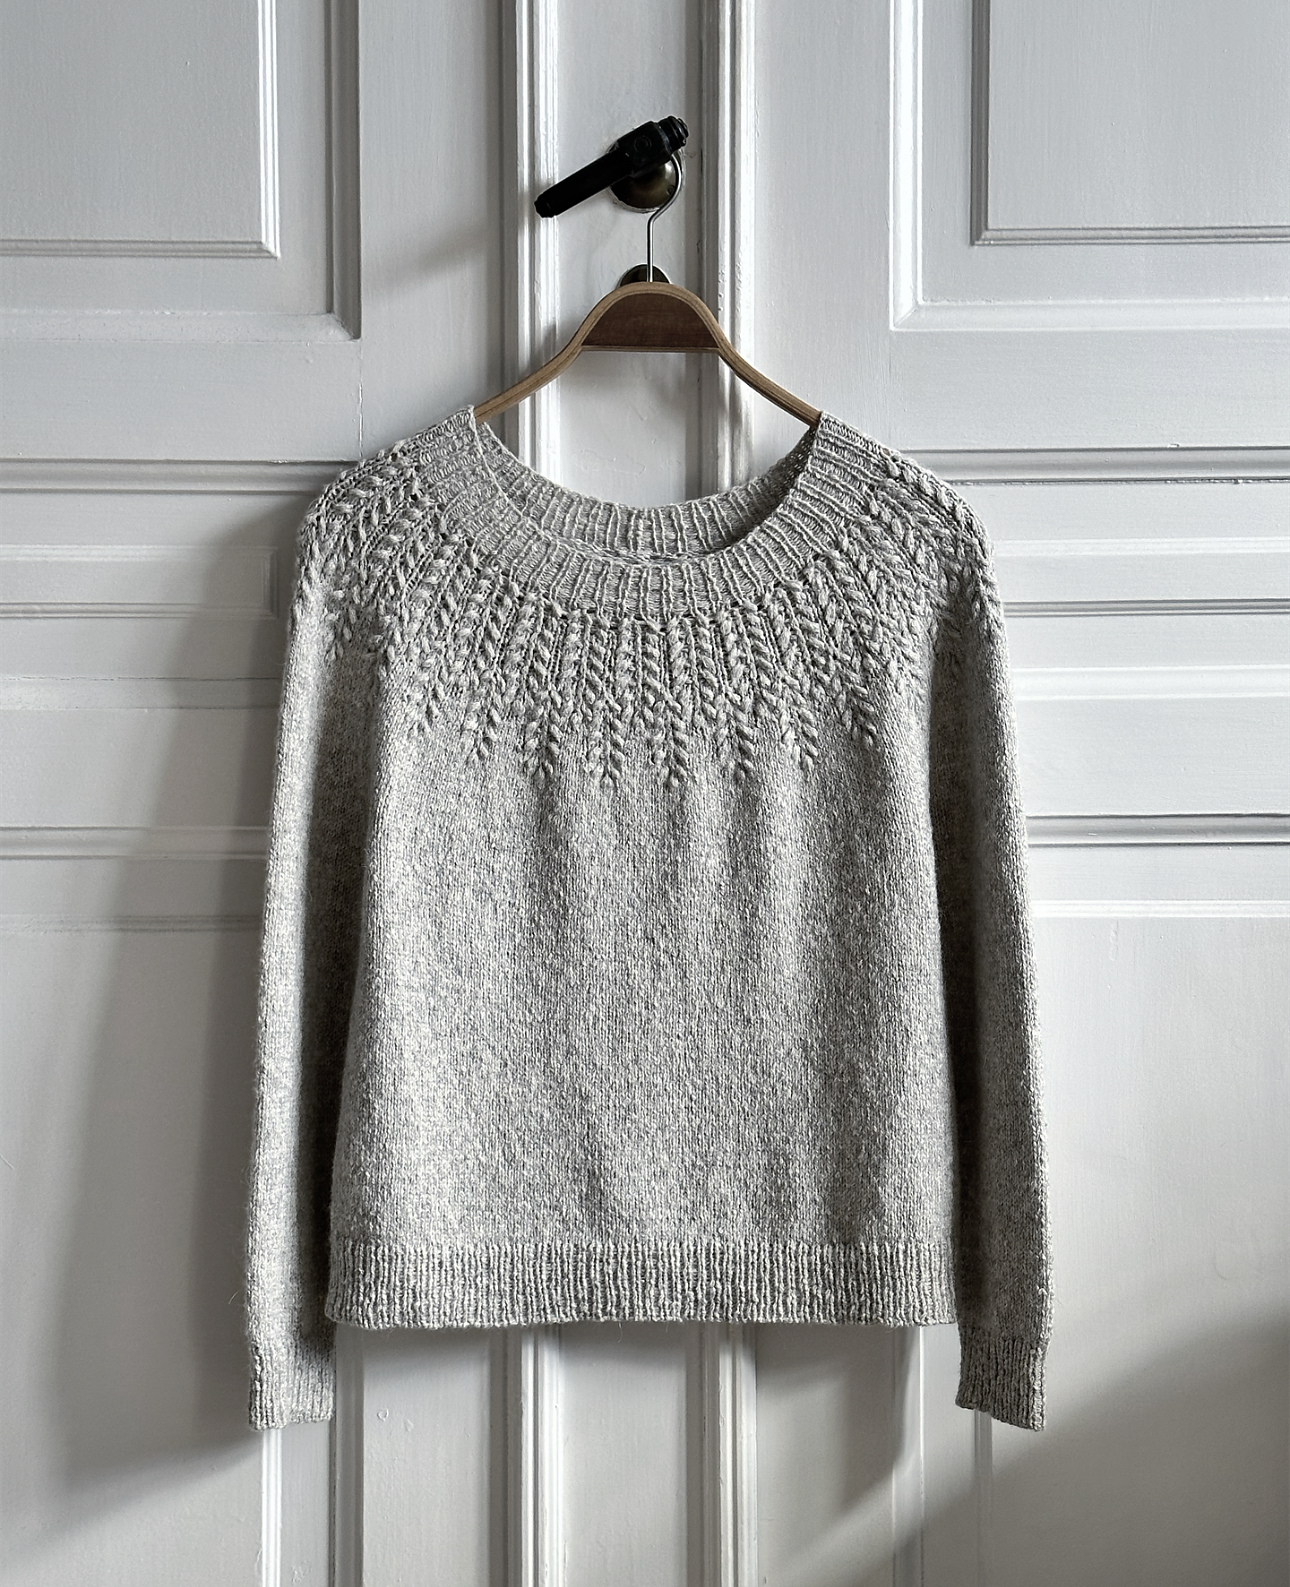
Kicking off Wednesday September 6, 2023 and meeting in the shop Wednesdays between 12-4p to work through the steps of this top-down textured piece. Pam and Peg are leading and will also be available for help by e-mail for help The pattern is offered in a range of 9 sizes from a chest measurement of 37.6”/94 cm to 56.8”/142 cm. There’s even a short sleeve option. Yarn requirements call for a gauge of 5 stitches = 1 inch, in amounts of 1148 - 1969 yards (1050 - 1800 m). Many are planning to add mohair or another carry along thread in the yoke section for that little extra something something. There has been some question about size inclusivity on this project. As always, we are ready to assist if you are concerned your size is not represented. Peg suggests choosing a worsted weight base yarn for those wanting larger sizes. We can help with the math to convert the pattern. Here are some suggestions for the main yarn, (we could probably find more!):
|
|||||||||||||||||||||||||||||||||||||||||||||||||
|
|||||||||||||||||||||||||||||||||||||||||||||||||
|
|||||||||||||||||||||||||||||||||||||||||||||||||
|
|||||||||||||||||||||||||||||||||||||||||||||||||
Peg also recommends:
-
using a small crochet hook (D?) to execute a K5tog
-
a set of Barber Cords to help with trying on
Instructions for your Gauge swatch –
Crucial for a top-down sweater so you make sure you’re knitting the correct size.
Should be worked IN THE ROUND because the sweater is knit that way. Helpful tutorial here if you’re unfamiliar with swatching in the round: hIps://ysolda.com/blogs/journal/swatch-in-the- round
The pattern calls for 5 stitches to the inch so we recommend you cast on 30 stitches and working at least 20 rows in the round. This should give you enough for a reasonably accurate 4” measurement. Remember to block your swatch before measuring.
We can help you choose which size to knit based on your body measurement and your desired ease.
Practicing the grain stitch (also done in the round) –
You can practice this on scrap yarn but if you’re using a carry-along like mohair or one of our fab sequin yarns, we recommend swatching with your project yarns to make sure you like the look. Frogging mohair is such a drag…
The actual pattern has a prep row where you do a YO to make increases. You don’t need to do the increases to practice the stitch.
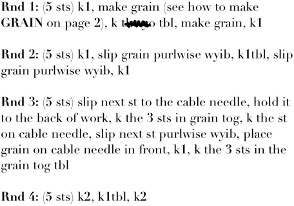
We recommend casting on any combination of 5 stitches PLUS AT LEAST 1 EDGE STITCH ON EACH END and working the pattern as written below, referring to your own copy of the pattern for the info on how to make a grain. Remember your edge stitches are not included in these written directions. Just work them as regular knit stitches. The blacked out term in the second line below is K1tbl.

You will notice that the grains are created on Row 1 by making 3 stitches out of 1. On Row 2, you slip these stitches without working them. This serves to enlarge the stitches by stretching them out so they’re easier to work in Row 3. On Row 3 you work those 3 grain stitches together in a K3tog or K3togtbl while AT THE SAME TIME working a 1x1 cable. It’s fiddly so doing a little practice will help improve your chances for success when you start your sweater. If you’re having trouble with the K3tog, consider using a small crochet hook (like a size D or smaller) to help with that stitch.
Notes from Peg:
Specifics:
· These instructions will add about 1.75” to your sleeve length NOT counting your ribbing. So, you should plan to begin these instructions when your sleeve is the length you want MINUS 1.75” and MINUS your intended ribbing. Peg did 5 rows of ribbing (about 1”) so she started these grains when her sleeve was 2.75” short of her desired length.
· You must finish all your decreases before starting these instructions. This may mean you have to recalculate your rate of decrease. See us for help with this if you need it!
· If you’re adding mohair, you will need about 7 grams of mohair to complete the grains plus 5 rows of ribbing. If you are doing more ribbing than 5 rows, you will need a bit more mohair (a couple of grams at most).
· Peg did the grains in the same needle as the rest of her sweater and then went down 2 sizes for her ribbing.
· These grains are done on a repeat of 6 stitches so you need to finish your decreases with a number of stitches divisible by 6. Peg did hers on 54 stitches because her sleeves are ¾ length so her sleeve diameter is slightly larger at the bottom.
Instructions:
Row 1: [K2, make grain, slip next stitch purlwise WYIB, make grain, K1] Repeat between [] around the row.
Row 2: [K2, slip grain loops one at a time WYIB, K1tbl, slip grain loops as before, K1] Repeat between [] around the row.
Row 3: [K1, slip next stitch to cable needle (CN) and hold in back, K grain loops together, Knit stitch from CN, slip next stitch purlwise WYIB, move grain to CN and hold in front, K1, K grain loops from CN through back loops] Repeat between [] around the row.
Row 4: [K3, K1tbl, K2] Repeat between [] around the row.
Repeat Rows 1-4 again.
Repeat Rows 1 and 2 again and then substitute the following for Rows 3 and 4 and work Row 5 below:
Row 3: [K1, slip next stitch to cable needle (CN) and hold in back, K grain loops together, Knit stitch from CN, make LARGE grain in next stitch, move grain to CN and hold in front, K1, K grain loops from CN through back loops] Repeat between [] around the row.
Row 4: [K3, slip loops of large grain WYIB, K2] Repeat between [] around the row.
Row 5: [K3, K large grain loops through back loops, K2] Repeat between [] around the row.


